Behind the scenes in painting + creating digital art for invitations
Today, I thought it would be fun to talk about how I create the artwork for invitations! Sometimes people ask me if I hand paint every invitation, which I have done in the past, but don’t do any more, and other times, people don’t even know that I create the artwork for my invitations! So it’s really all over the place.

_An example of the vintage art I’ll occasionally work with. We paired the vintage florals with a custom watercolor map. _Photo by Mikkel Paige.__
I create almost all of the artwork that I use in my wedding invitation designs. The only time I won’t create the artwork is when I’m using vintage illustrations, as they are older and a different style than my paintings. But the vast, vast majority of the time it’s a painting or drawing by me.
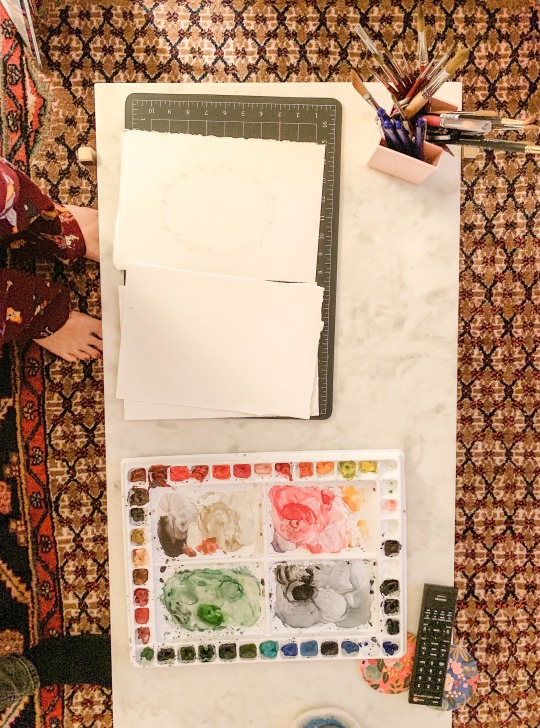
_An example of my typical setup. Sometimes I work at a desk, other times I’m painting at night and paint at my coffee table so I can watch tv and hang with David. _
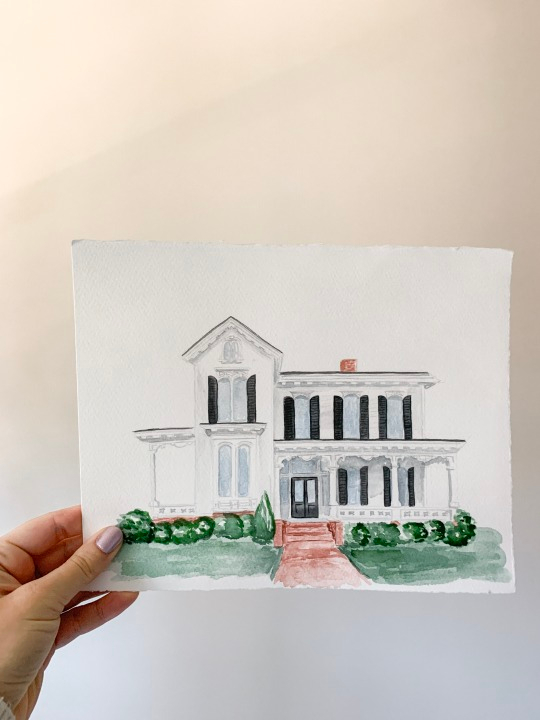
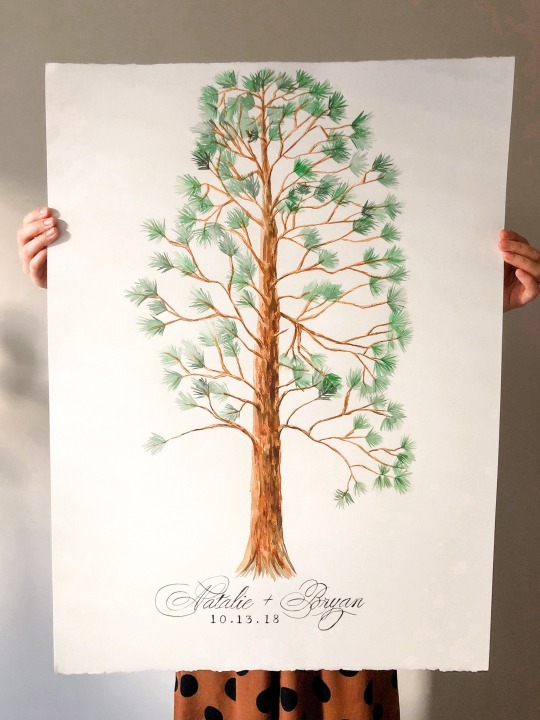
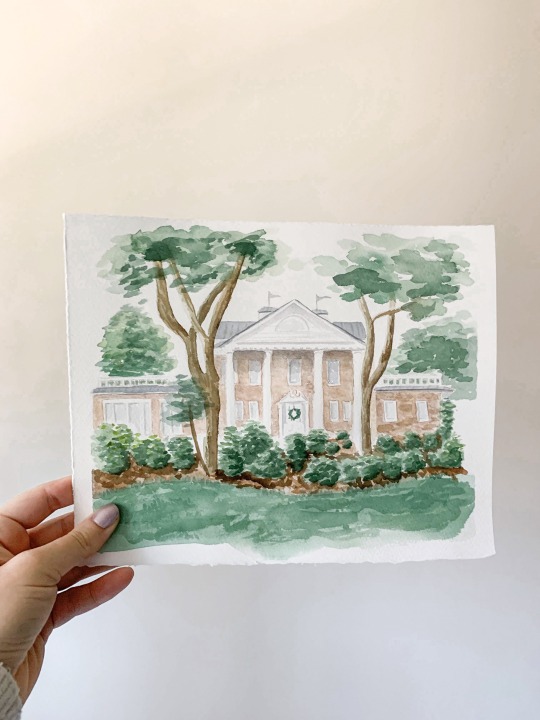
For my watercolor work, I’ll usually start by sketching out lightly in pencil what I would like to paint. Sometimes I go for a looser look, but usually I have to put pencil to paper to make sure it doesn’t look weird in the end. For my venue or pet portraits, these sketches are a lot more detailed, and for something like a floral painting, they’re a lot looser.
Then, I’ll actually create the painting. For each project, I’ll usually try to make a few different options for each piece I would like to use. Often for my designs, I’ll pull from my pretty extensive library of artwork, so if I’m doing something custom, I like to make sure I have a lot of new pieces to add to the library. Paintings can take me days to complete - I always think I can just bang something out, but it actually can be a fairly slow process.
Once the paintings are complete and dry, I’ll scan them, and then digitize the artwork. I’ll be honest, I kind of hate this part, as it is sooo slow and nitpicky. It’s too boring to explain, but basically, it’s color correcting, then going around and tracing each part of the art to pick it off the paper background, and then more color correcting. It can take days, depending on how involved the piece is. This is when I listen to lots of podcasts and complain to David about how hard my job is.
After the piece is digitized, it’s ready to go into the design. This is my favorite part, as it a) means digitizing is done, and b) it’s so fun to see it all come together!
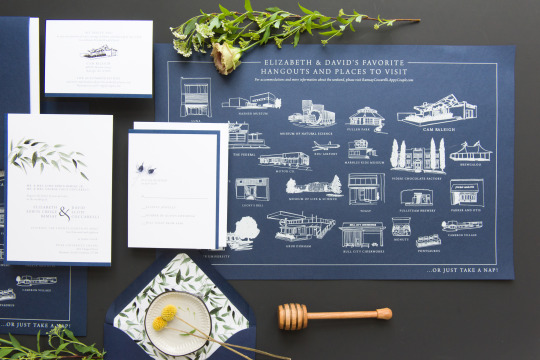
_This suite used both watercolor and line drawings. I created the line drawings on my iPad! _Photo by Mikkel Paige, photo styling by Janet St. Clair__
If I’m creating a line drawing, it’s a little bit different of a process, because I do most of my line drawing on my iPad. I use a program called Adobe Sketch, which has been a real game-changer in terms of creating drawings that don’t look too digital from the start. The great thing about that is that there’s no tough digitizing part - I just pull the drawing off my iPad and I’m good to go.
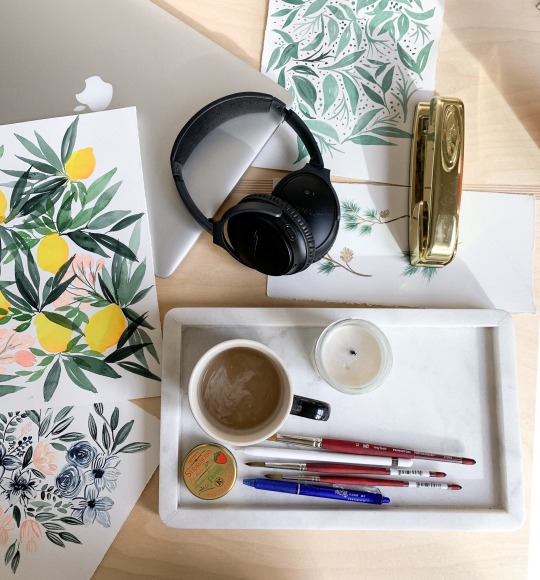
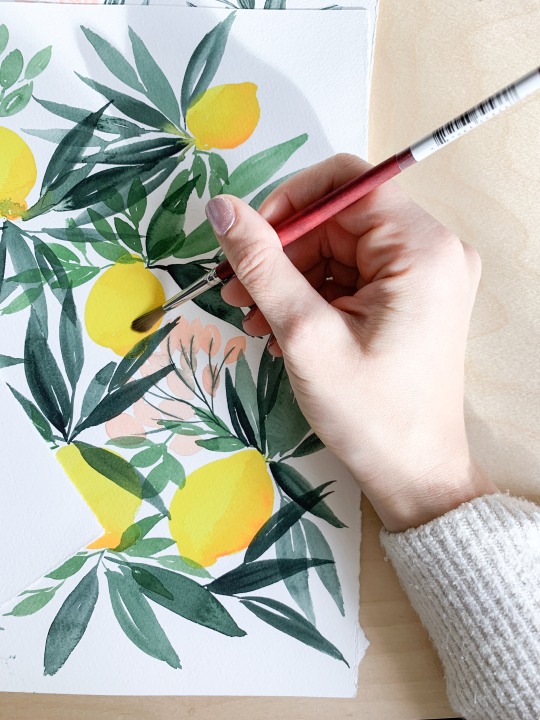
_I generally paint surrounded by beverages - it’s like a fun challenge to not drink paint water, or dip my paintbrush in tea. _
I love creating artwork for my stationery, and it’s especially fun to see how versatile the pieces can be - a painting of a flower can look totally different in different contexts, and I love seeing how they can come to life. I still can’t believe that a huge part of my job is drawing and painting, how crazy is that, anyway?! Is this process in line with what you envisioned? Or is the way I do things totally different from what you thought?